Heat tape works best when it’s installed correctly. When it’s not, the system may underperform, wear out early, or fail to stop ice from forming.
The tricky part is that failure isn’t always obvious. A poorly installed heat cable might not snap, spark, or stop working all at once. It may simply fall short. Water still freezes. Ice dams still form. The roof still has problems, even with heat tape right there.
Most heat tape problems trace back to five common installation mistakes. Let’s take a closer look at what causes them and what a correct heat tape installation does instead.
1. It Covers the Eave but Misses the Valleys and Rakes
Running cable along the eaves is one of the most visible parts of a heat tape layout, but it’s only one part of a complete system. Valleys and rakes matter, too.
A valley is where two roof planes meet, creating a natural collection point for snow and meltwater. Each roof plane sends water into the same narrow channel, where it can slow down, pool, and freeze. When that happens, ice can build up faster than it would along a simple eave.
Rakes are the angled edges along the sides of a gable roof. They’re exposed to wind and cold air, which can cause ice to form. That ice can connect with an eave ice dam or create a separate problem area.
If your installation only includes the eaves, it overlooks sections of the roofline that commonly cause winter drainage problems. A complete layout looks at the full roofline, not just the most obvious edges.
2. It Stops at the Roofline Instead of Running Through the Gutters
It’s a common shortcut to run heat cable to the roof edge and stop there, but that ignores the full drainage path. Water doesn’t stop at the roof, after all. It drains into the gutter and downspouts on its way to the ground. If that pathway gets blocked, the water has nowhere to go.
Meltwater can freeze and pool if it hits a frozen gutter, even if heat tape is doing its job on the roof. As water collects and freezes inside the gutter system, the added weight of the ice can place stress on the gutters and fascia boards.
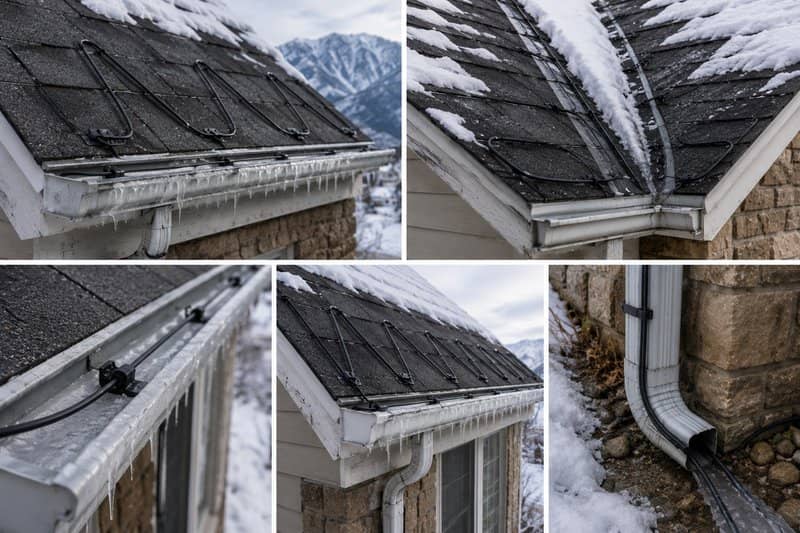
A complete system includes downspout and gutter heat tape installation. This helps keep meltwater moving through the entire drainage path, from the roof surface to the gutters and downspouts, instead of allowing it to freeze and create blockages.
3. It Runs in a Straight Line Instead of a Zigzag Pattern
If you run a single straight cable along the edge of an asphalt shingle roof, you’re only protecting a narrow line. Meltwater doesn’t always freeze where the cable sits. It can hit the cold shingles above the cable and form an ice dam just uphill of the heat tape. Instead of solving the problem, you move it higher up the roof.
A zigzag pattern creates a wider band of warmth along the lower roofline. That heated area helps meltwater keep moving as it drains toward the eave and gutter.
The right zigzag pattern depends on the roof’s shape and where ice has built up in the past. A good installer reads the roof and maps the cable to the actual problem area instead of running the same straight line on every home.
4. It Skips Self-Regulating Cable and Proper Controls
A basic heat cable runs when it’s plugged in and stays off when it’s unplugged. That leaves you to decide whether to run the system constantly or manage it by hand.
If you run it constantly, you risk a higher electric bill and a shorter lifespan for your heat tape system. But if you manage it by hand, you have to watch the forecast and plug in the heat tape before freezing conditions arrive. That also means you might forget, which can allow ice dams to form while the heat cable sits unused.
A self-regulating heat cable installation with proper controls helps solve that problem. The cable adjusts its heat output as temperatures change. When conditions get colder, the cable produces more heat. When conditions warm up, it produces less heat.
An automatic controller adds another layer of support by turning the system on and off when conditions call for it. Together, the cable and controls help the system respond to winter weather without relying on you to manage it manually.
Heat tape shouldn’t be an afterthought that depends on someone plugging it in at the right time. A system that runs when it’s needed and stops when it’s not provides winter protection without creating more work for you.
For homeowners with an older system, a heat tape replacement and upgrade can be an opportunity to improve performance by adding modern self-regulating cable and automated controls.
5. It Leaves the Downspouts Unprotected
The downspout transition is one of the most stressed points in a heat tape system. The cable runs through the downspout and may bend sharply at the bottom as it turns back or exits the system. That bend can rub against the edge of the downspout or another hard surface, damaging it over time.
As the cable heats and cools, it expands and contracts slightly. Without protection at that transition point, repeated movement can wear down the cable’s outer coating and weaken its performance.
If the cable fails, ice can form at the most important exit point. A frozen downspout can block everything above it, even if the system works on the roof and along the gutter.
Cable guards help protect the cable anywhere it runs over a hard edge or through a high-friction point. They’re a small part of the installation, but they can make a big difference in how well the system holds up over multiple winters.
A Heat Tape System Is Only as Good as Its Installation
When heat tape fails, the problem isn’t always the cable itself. The issue often starts with the system’s layout or installation. A system that stops short of the gutters, skips valleys and rakes, uses the wrong pattern, relies on manual controls, or leaves wear points unprotected can still lead to ice dams, even with heat tape on the roof.
A correctly installed heat cable system covers the full drainage path, runs when conditions call for it, and protects the cable where it’s most likely to wear down. This is what separates a system that works for years from one that fails too soon.
Video
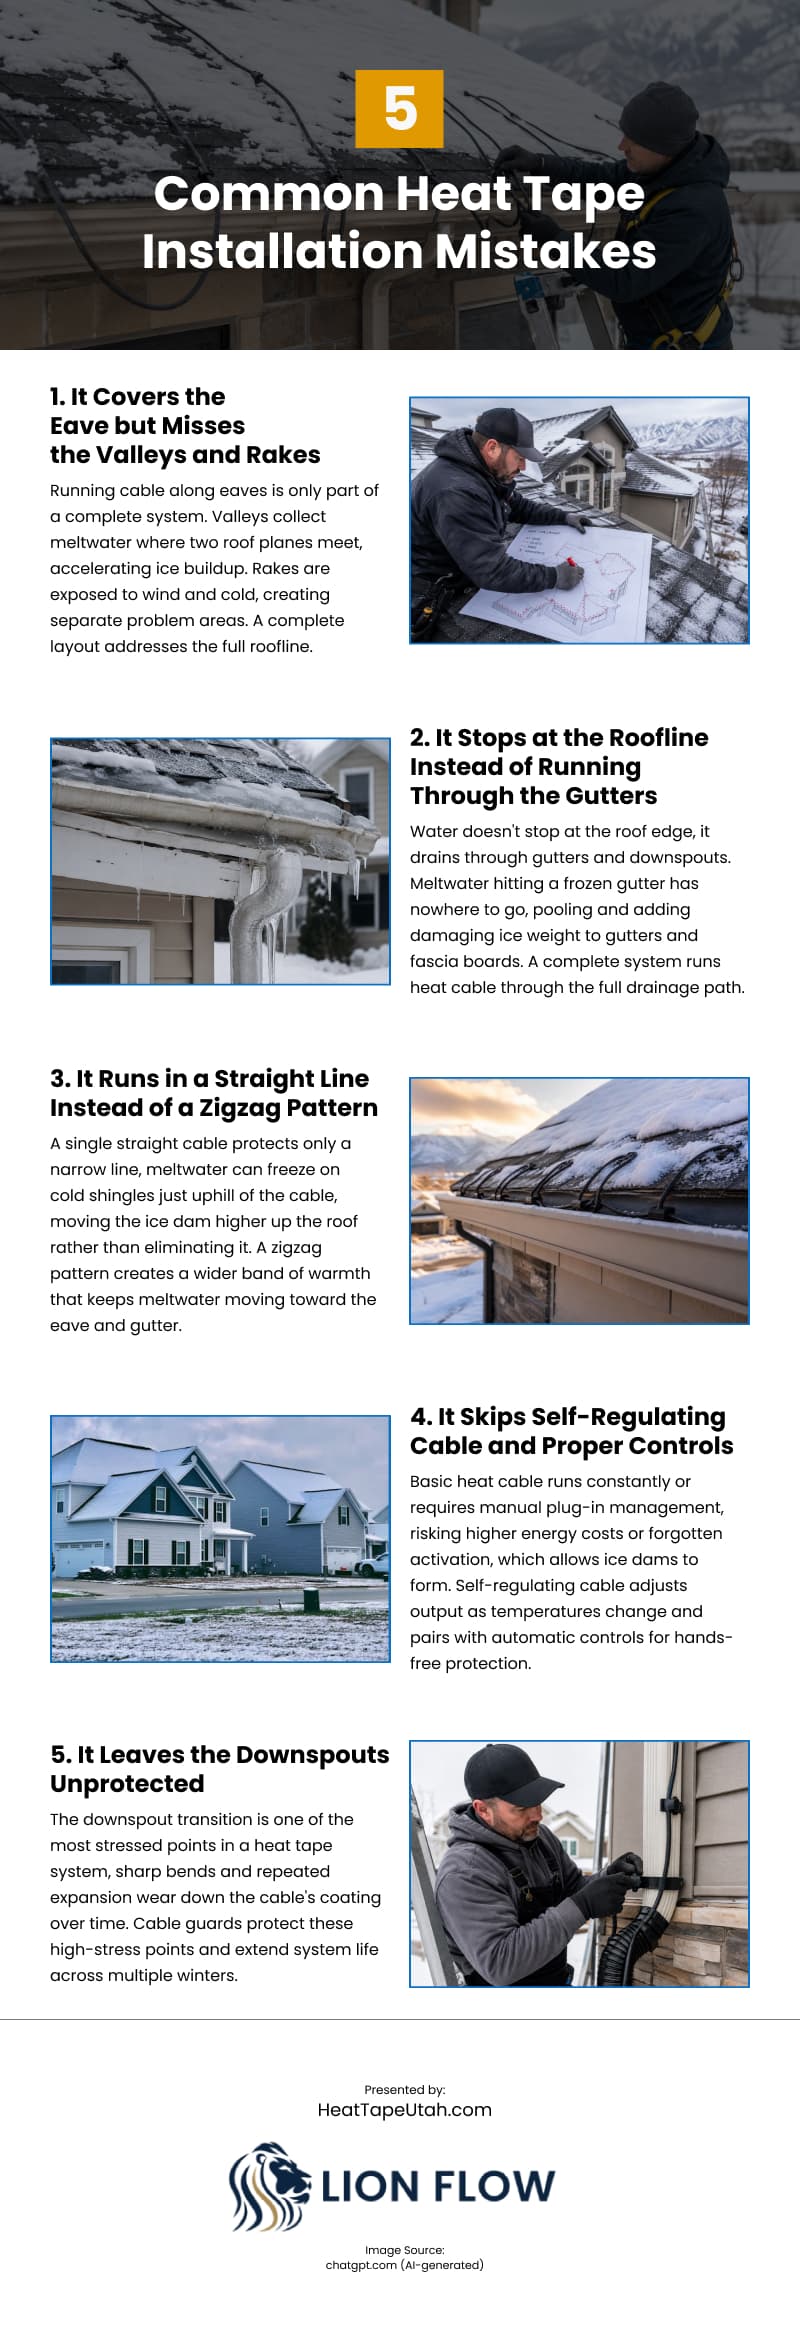
Infographic
Heat tape works best when installed correctly, and most system failures trace back to five common mistakes that leave parts of the roofline, drainage path, or cable unprotected. Read on about five common heat tape installation mistakes in this infographic.